It’s time to celebrate – new year, new blog!
As this Saturday marks the quarter-century birthday of one of my lovely friends, I volunteered to make his birthday cake. His request being that he likes “that one that’s plain but with the jam in it” so obviously I’ve gone with making him a Victoria sponge. This one being slightly different, to mark the occasion we’re also adding sparklers and candles to the cake to serve, and what kind of birthday cake doesn’t feature a load of icing and sprinkles?!
I based this recipe on a favourite from Primrose Bakery and Hummingbird Bakery but have added a few special touches. For example, I’ve made this sponge twice so I can use 3 layers instead of 2, but it’s totally up to you how you want to make it. To cover the cake fully, including the layers inside, I made the icing recipe twice as well just to make sure there was enough…conveniently I had a little extra…for the taste test of course!
For the cake (recipe from primrose bakery ‘cupcakes’ book)
Ingredients:(Makes 2 8-inch cakes)
Method:
- Preheat the oven to 160 (fan)/180/350F/gas mark 4 and grease and line 2 20cm cake tins.
- Put the butter, sugar, flour, cornflour and baking powder into a food processor. Pulse for a few seconds until evenly mixed.
- Gradually add the remaining ingredients, processing briefly until just combined. Don’t be tempted to over mix or you will take the air out of the cakes.
- Divide the mixture between the tins and bake for about 25mins until raised and golden brown.
- Insert a skewer and if it comes out clean the cakes are done, remove from the oven but leave in the tins for 10 minutes or so, before turning them out onto a wire rack to cool.
Once the cakes are cool they are ready for the frosting!
For the vanilla frosting (recipe from hummingbird bakery ‘cake days’ book)
Ingredients:
Method:
- In a free-standing mixer (or with a handheld whisk) mix together the sugar and butter until a fine, sandy consistency.
- Add the vanilla essence to the milk and pour into the butter whilst mixing on a low speed, then increase the speed to high and mix until light and fluffy.
- If you prefer you can add food colouring at this stage.
-
Icing the cake:
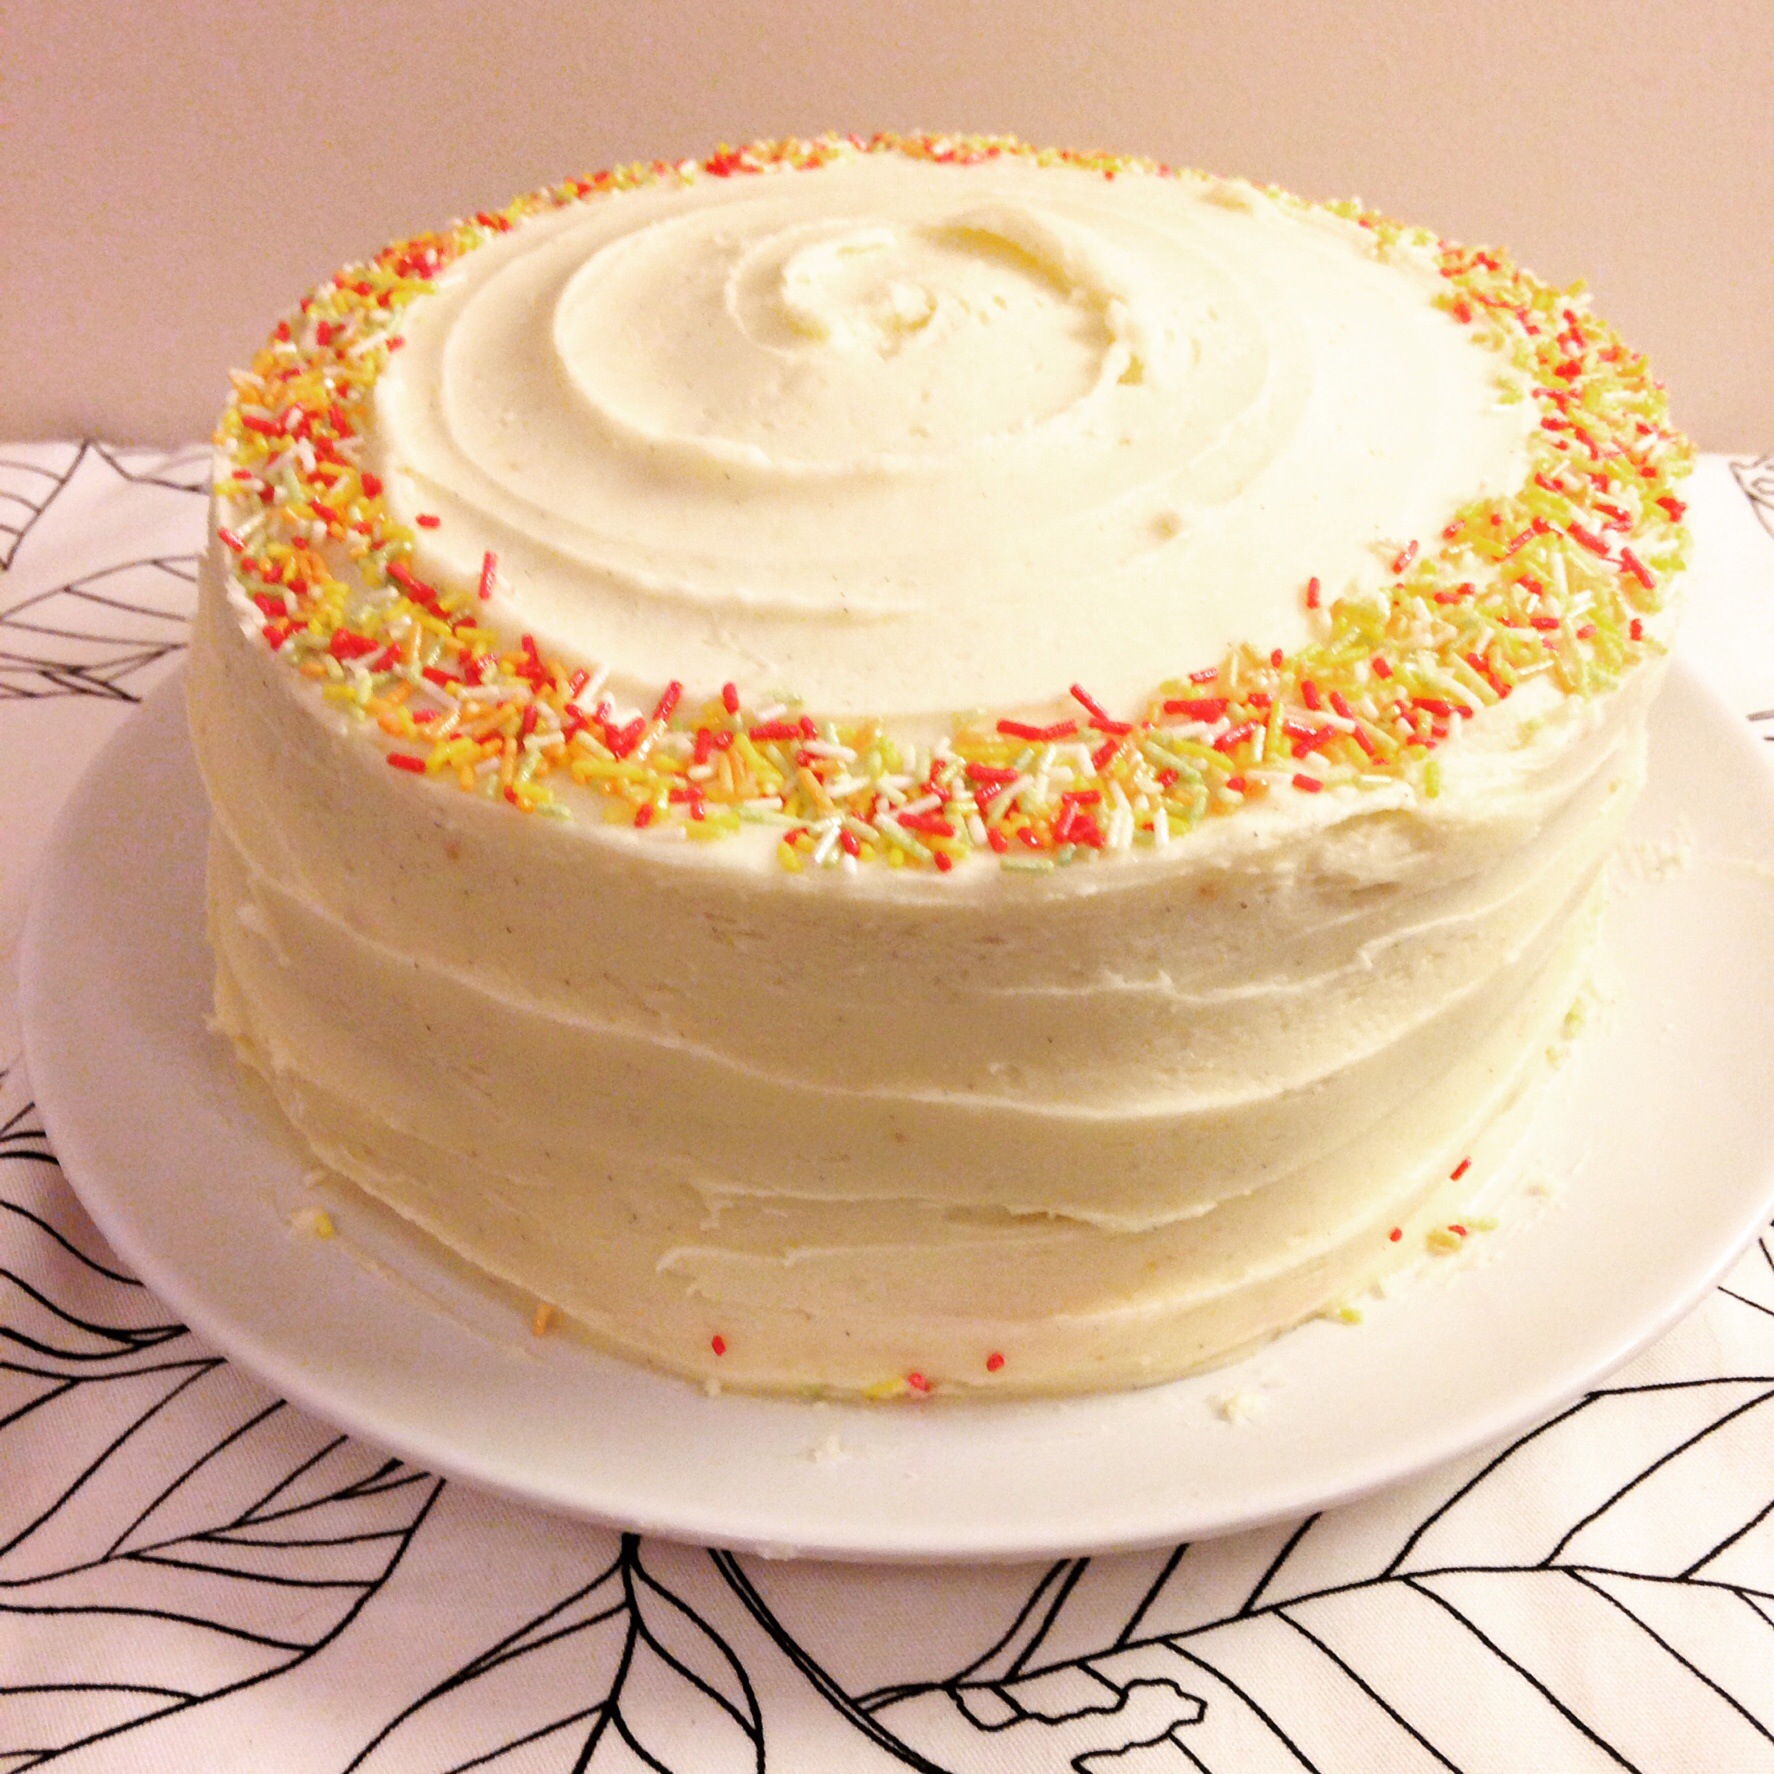
- As I was using 3 layers of sponge for this cake, I used 2 batches of the frosting recipe as I wanting the sides as well as the top to be covered, if you prefer to leave the sides free of icing then one batch of the frosting should be enough.
- Using one layer of sponge, put some frosting in a piping bag with a wide nozzle attachment and pipe a circle round the top of the sponge about an inch away from the edge. This will make sure that the filling spreads evenly once the cake is layered. Once done, fill in the circle with a layer of frosting.
- On the top of another sponge, spread a layer of jam. Carefully place this jam side down over the frosted cake and press down slightly.
- Repeat the frosting on the top of this layer, then spread some jam onto the top side of the remaining sponge and place that on top. This will mean that the top of the cake is a smooth and flat surface ready for icing which tends to look a little better when icing, rather than the side that has risen.
- With the icing, use a palette knife to spread icing around the sides of the cake, making them as smooth as possible. Then use the remaining icing for the top of the cake. Once the cake is covered, use the palette knife to smooth any mistakes or uneven sections. Perfect! The cake is now ready to be decorated however you like! Though no-one would blame you for just eating it now…
Nat x

Ooo I need to try this… My sponge cakes are never this big LOL
LikeLiked by 1 person